Alternate title: Finally, a practical use for a smartwatch!
Last fall, in preparation for a wedding fair for my wedding photography business in Helsinki, I wanted to create something out-of-the-ordinary that would attract attention to my booth. A friend of mine suggested a type of vintage camera that visitors could look through. Vintage camera with a mini slideshow inside? Sounds like a plan!
Step 1: Acquire Camera and Screen
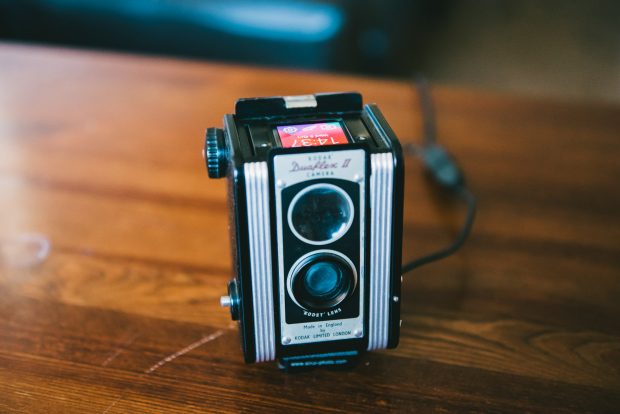
Now that I had an idea, I just had to figure out how to make it happen. The first step was to find a usable camera. I wanted something with a big enough viewfinder so that visitors didn’t have to put their eye right up to it. I found a Kodak Duaflex II twin lens reflex (TLR) camera locally for 25€, and it was perfect.
Once I had the camera, I had to figure out how to get a screen inside it. At first, I contemplated a thumbnail LCD screen–but screens like this would require some additional wiring for an HDMI port and then a separate computer to run the slideshow. But I realized a smartwatch was the perfect fit for the Duaflex’s 1.63″ viewfinder.
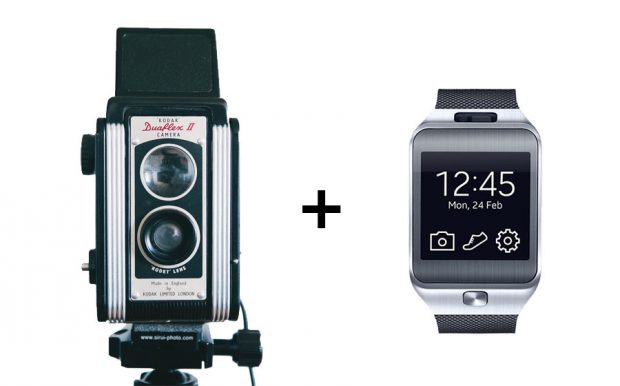
After a quick search, I found a used Samsung Gear 2 smartwatch that would do nicely. It came with a charging dock that would fit in the camera. And I picked it up for a measly 35€.
Step 2: Disassembly
Next, I had to figure out how to fit the watch into the camera. The wonderful thing about old cameras is that they can be fully disassembled within minutes using a single screwdriver.
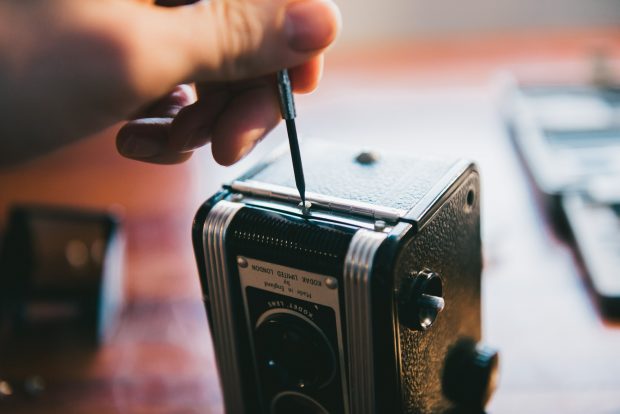
Three minutes later:
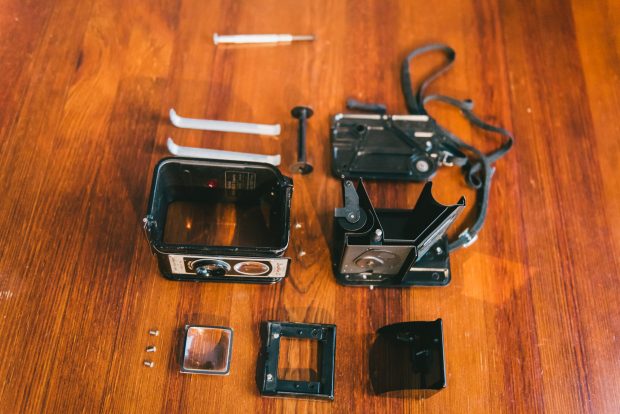
After test fitting the Samsung Gear, I ditched some of the interior pieces while trimming others. I also needed to drill two holes in the camera’s body: one for the tripod and one for the micro USB cable that would be powering the watch.
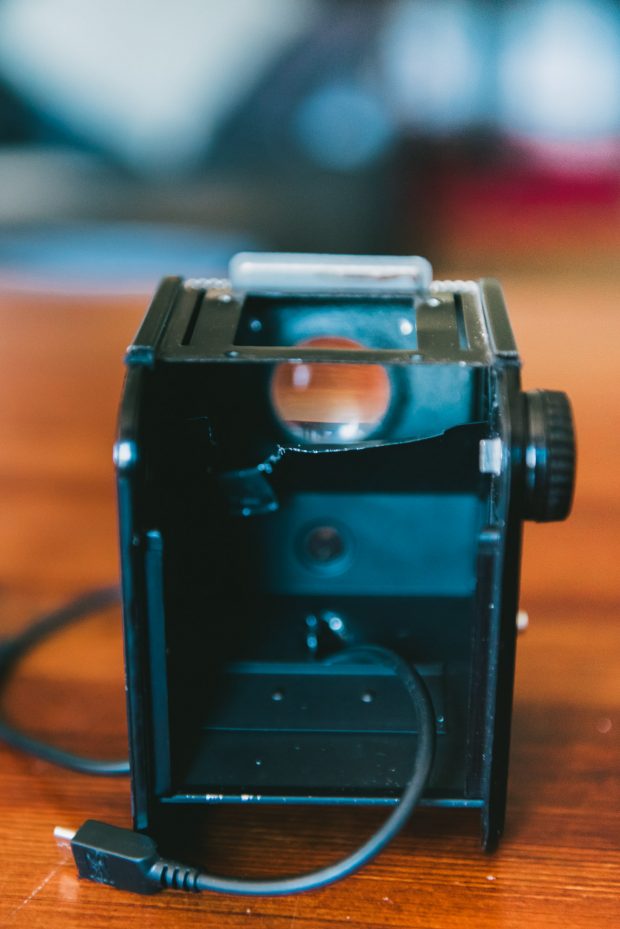
The partially reassembled camera, with trimmed pieces and drilled hole for the USB cable.
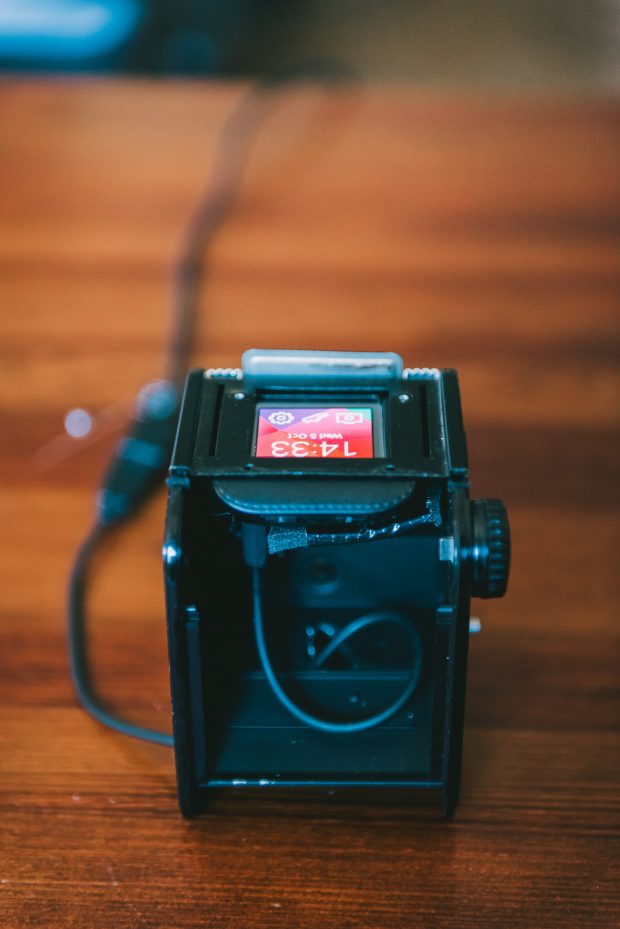
The smartwatch in its place. It was a nice, tight fit for the Gear 2 with the charging dock.
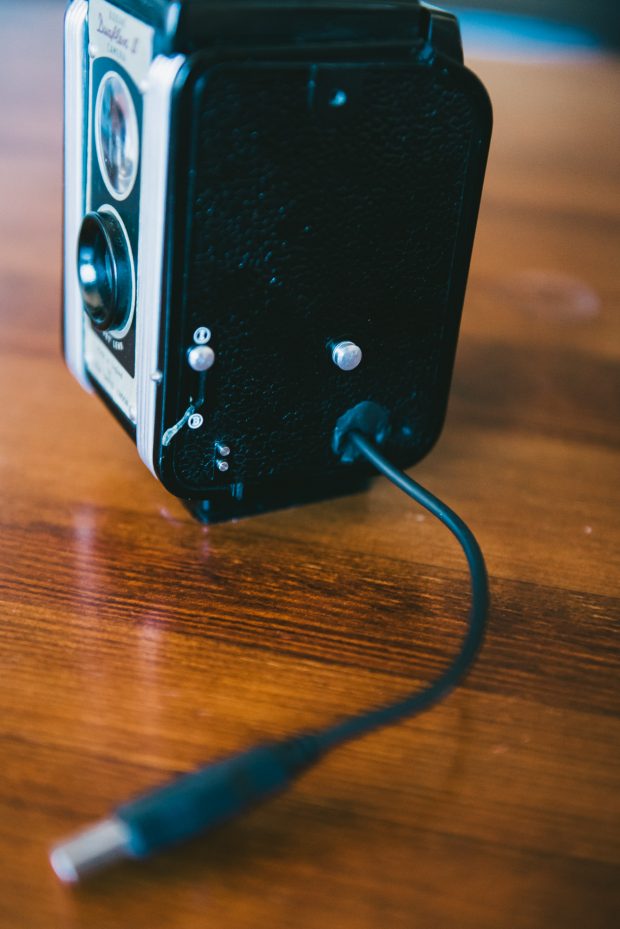
The USB charging cable coming out of the camera (the hole has been insulated with Sugru)
The partially reassemble camera, still waiting on the viewfinder mirror and hood.
Another view of the partially reassembled camera.
Step 3: The Finished Product
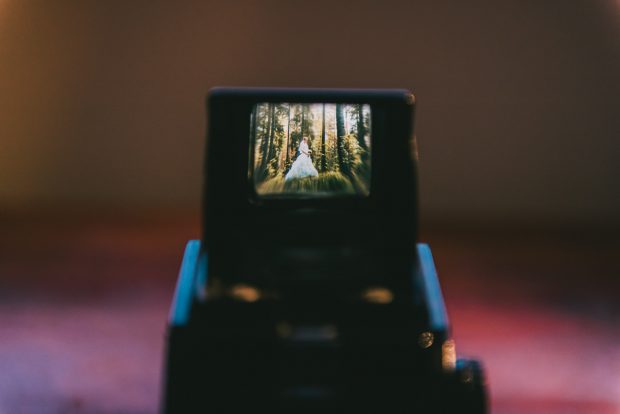
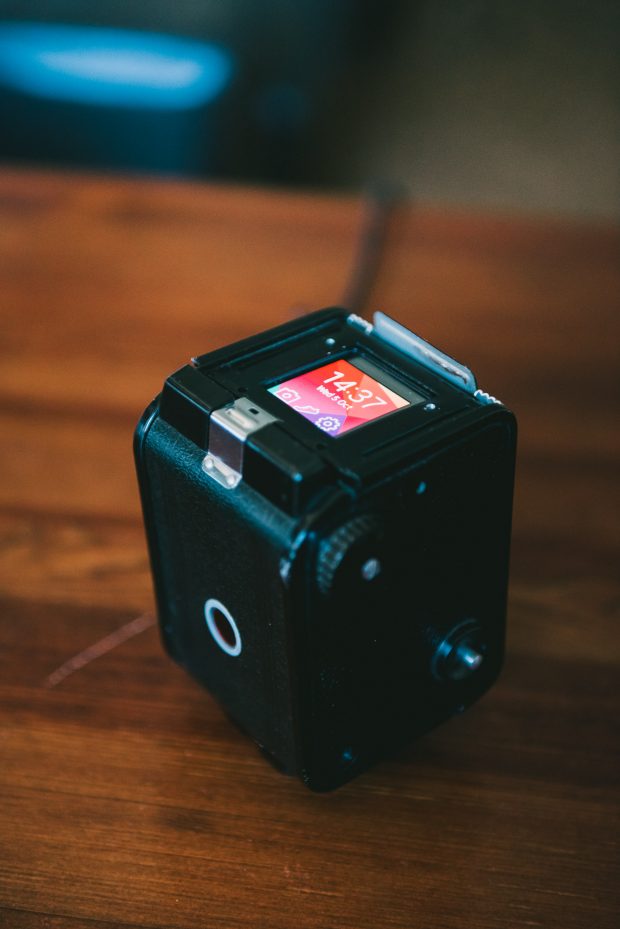
The view through the viewfinder
I installed the viewfinder glass, mirror, and hood, and then loaded the smartwatch with a handful of tiny pictures (320 x 320 pixels) and set it on a tripod to test it out. Here’s how it looked:
Mission accomplished! At the bridal show, I ended up setting the camera up in the middle of my rustic-themed booth with a sign that said “Come closer and look in the viewfinder” (in Finnish, since the bridal show was in Helsinki).
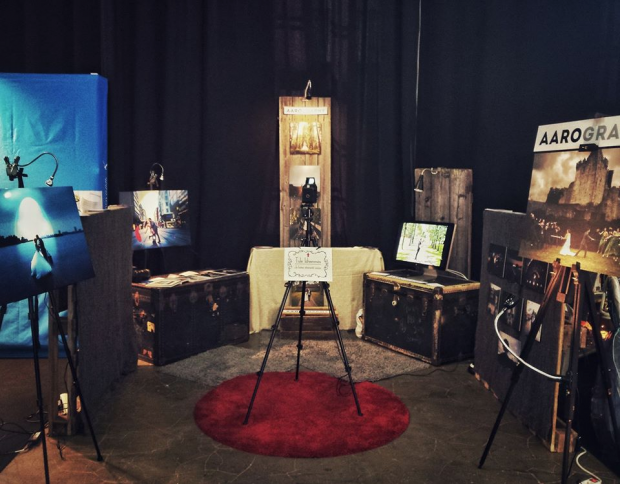
It was a hit! People came up to check it out out of curiosity and stuck around to look at the other pictures and chat about wedding photography. Now that that mission has been accomplished, I can focus on my next project: figuring out how to do the same thing, but replacing the watch with a mini projector. 😀
You might also like